You will want the clip. Everyone wants the clip. Filming should not steal the jump or invent a projectile.
Many of the cleanest bungy videos come from staff multi-cam packages. DIY is possible at some sites with approved action cameras. It is banned or tightly limited at others. Crew approval on the day is final at serious operators.[1]
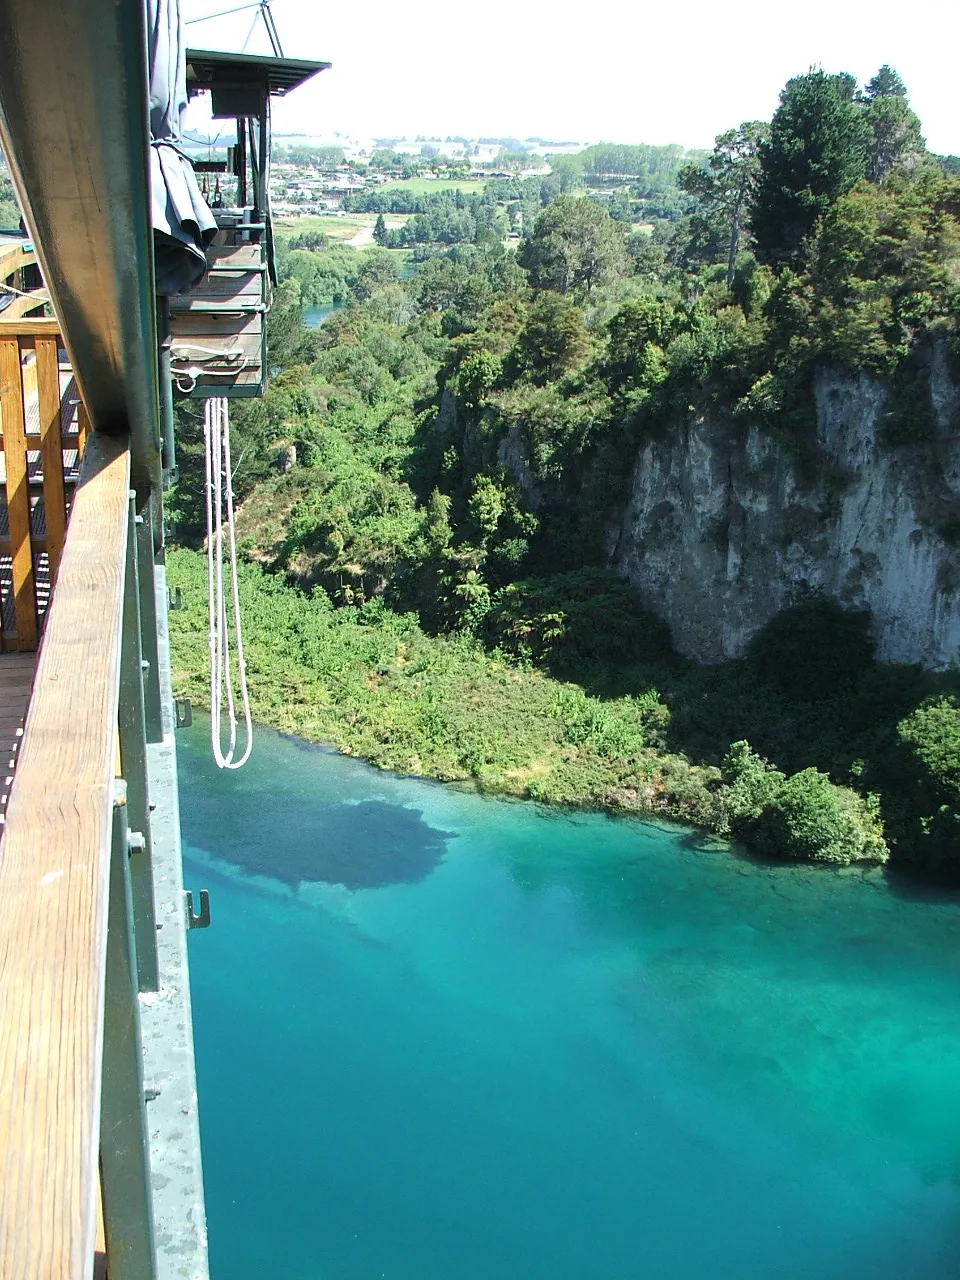
Prefer the official package when the moment matters
Platform cams, jumper angles, and edits you cannot replicate with a wrist strap. At AJ Hackett Bungy NZ, photo and video capture is included in the activity price with a download window after — which removes the "phone or jump" fight for a lot of people.[1][2]
If budget forces a choice, many regulars pick video over stills because the sound is half the souvenir. Official stills still beat a blurry midair selfie stick fantasy.
When personal cameras are allowed
Rules vary by site and product. AJ Hackett's published camera FAQ is blunt: all cameras must be approved by crew; some Auckland products ban personal cameras entirely; Auckland Bridge Bungy may allow securely attached GoPros with head mounts banned (chest or wrist only); Taupō and Queenstown may allow action cameras on selected experiences if securely mounted and staff-approved.[1]
Their prep blog adds practical limits: attach it close to your body, not on a very long stick; some sites (e.g. SkyJump Auckland) do not allow personal action cameras at all.[3] Smart glasses and wearable recorders are a no for safety and privacy.[1]
Loose phones in pockets are not a camera plan. They are litter and a hazard.[1]
If a friend shoots from the ground
Assign roles. You jump. They film from a permitted spectator area. Horizontal for landscape sites, a few verticals for stories, face at the edge, then step back for full body against the void. Do not ask them to lean over barriers or freestyle on restricted catwalks.
Brief them not to yell coaching if noise spikes your nerves. One quiet shooter beats a hype squad with three phones.
Setup checklist that does not ruin the jump
- Read that product's camera policy before you book extras.
- Use a locking mount + tether. "Felt tight at home" is not a test plan for rebound shock.
- Start recording before you are on the lip so you are not fiddling mid-countdown.
- Empty pockets. Jewelry off. Nothing dangling that can snag harness hardware.[3]
- Accept a no from jump masters without arguing on the platform.
Bottom line: official multi-cam is the reliable souvenir. DIY only with approved mounts, crew sign-off, and hands free for the actual jump. If filming fights the process, drop the camera.
Sources
- AJ Hackett Bungy NZ: FAQs (camera and GoPro rules by site)
- AJ Hackett: Kawarau Bridge Bungy (photos & video included)
- AJ Hackett: prepare blog (personal GoPro limits)
- Bloukrans Bungy: media / what to bring notes
Image credits
- Hero image: site asset for film-your-own-bungee-jump
- Inline: Thajsko / Wikimedia Commons (CC BY 3.0)