Bungee footage lives or dies by where the lens sits relative to your face, the cord, and the landscape. A chest mount can look epic or film mostly webbing. A head mount can deliver pure freefall or an all-sky abstract — if the operator even allows it.
Mount choice is secondary to policy. At AJ Hackett sites, cameras need crew approval; head-mounted cameras are explicitly not permitted on Auckland Bridge Bungy (chest or wrist only); other products may ban personal cams entirely.[1]
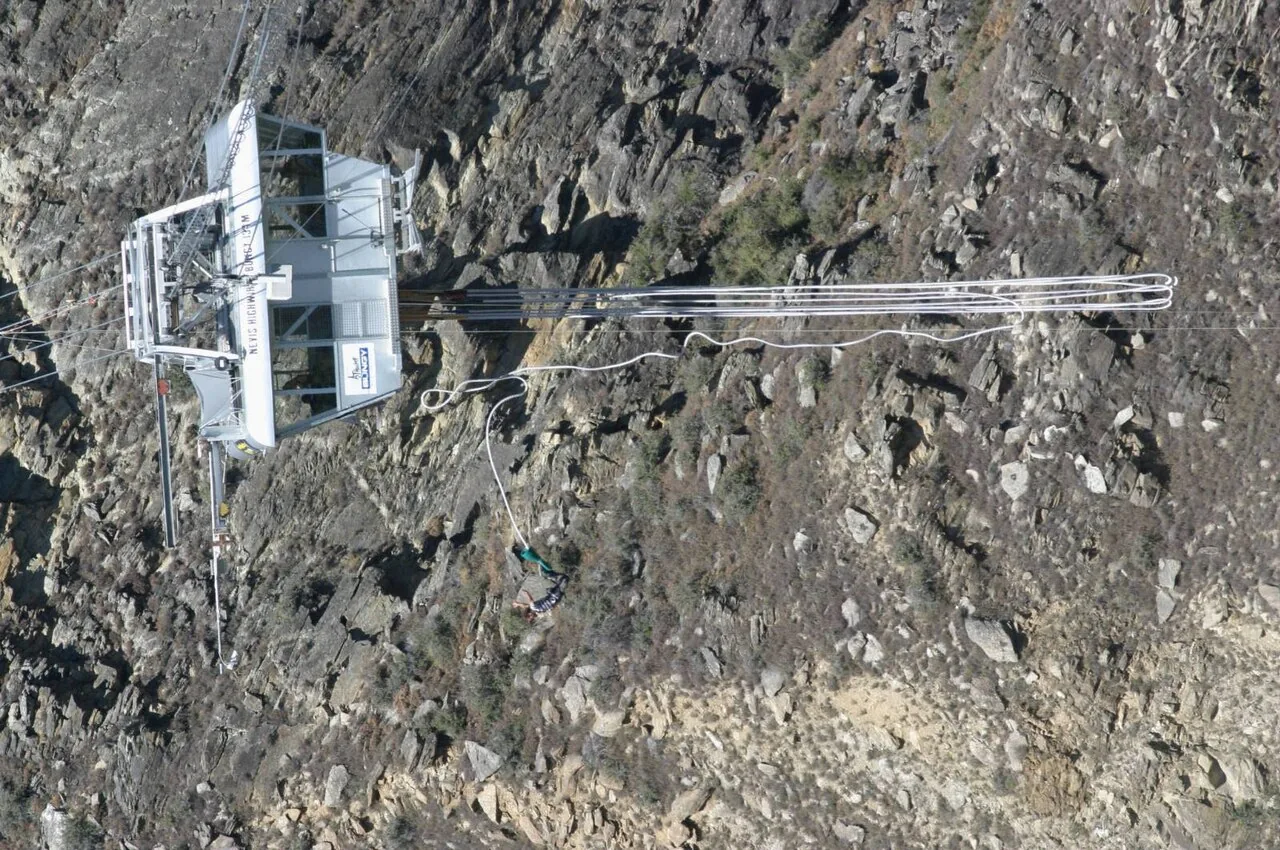
Chest mount: the usual DIY workhorse
Low chest often captures hands, the drop-away platform, and valley context. Problems: body harness rides high and occludes the lens; looking down turns the frame into fabric. Test with the same clothing thickness you will jump in. Ask staff whether their harness layout tends to block chest cams.[2]
Use a secure locking mount and a tether. Rebound is a sudden jerk. Home "wiggle tests" are not enough.
Wrist mount
Often allowed where head mounts are not.[1] You can swing the frame toward your face at the edge, then toward the landscape. Tradeoff: arm flail becomes the whole movie, and a loose wrist strap is a projectile risk. Keep it snug, short, and approved. Do not freestyle a long stick.
Head and helmet-style mounts
Gaze-tracking can feel immersive: platform edge, horizon, chaos. They also exaggerate shake and wind noise. Many commercial bungy products do not use helmets, and some operators ban head mounts outright for snag and detachment risk.[1] Do not invent a chin-strap solution on site.
Angles that usually work (when allowed)
- Slightly down from mid-chest: face + void if harness allows.
- Wrist, palm-in at the edge: reaction shot, then point out for freefall (practice once on solid ground).
- Official second cam: still worth buying even if you DIY one body cam — single-angle freefall is often boring without a wide platform shot.[3]
Settings that save the edit
High frame rate if you want slow-mo on the stretch. Linear or less-fisheye FOV if the site is the story. Protect the mic from pure wind blast if your model allows. Charge and clear storage the night before. Start recording early so you are not in camera menus during the countdown.
Bottom line: chest or wrist with a tether, crew approval, and a backup official clip. Head mounts and long sticks are where people get a no — or a lost camera. Film the jump; do not become the maintenance problem.
Sources
- AJ Hackett Bungy NZ: FAQs (GoPro rules: chest/wrist vs head mounts)
- AJ Hackett: prepare blog (secure action camera, no long sticks)
- GoPro: Chesty mount product information (POV tradeoffs)
- AJ Hackett: Nevis Bungy product context (high jump logistics)
Image credits
- Hero image: site asset for gopro-angles-bungee-jump
- Inline: AwOiSoAk KaOsIoWa / Wikimedia Commons (CC BY-SA 3.0)